1. Capture
When capturing images, you must use coloured filters to capture individual frames of red, green, and blue, and a luminance filter for the L channel. I now use Astronomik Type II filters, which are parfocal and complement each other in relation to the colours that they pass. All are IR-blocking, in fact the L filter is simply an IR blocker.
It is usual to capture more frames of luminance than of each colour. This is because you want the best possible quality for the luminance. Of course you want good quality colour too, but you can get away with fewer frames. Make sure you know which capture files are which colour! As the example images below show, they will all be greyscale, and therefore you can't tell afterwards.
There are ways to decide how many exposures of each colour to capture, involving capturing an image of a type G2V star with your camera, and analysing it to calibrate your exposure times for each colour (different cameras will vary). But for the time being I capture approximately equal amounts of each and adjust colour levels later.
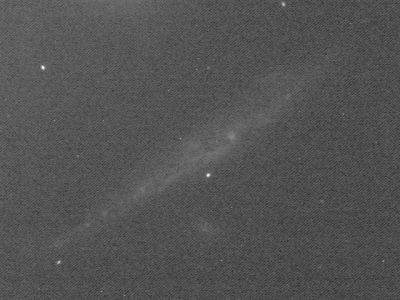
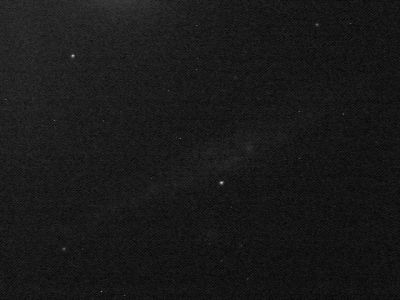
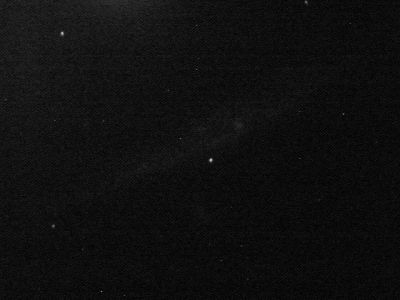
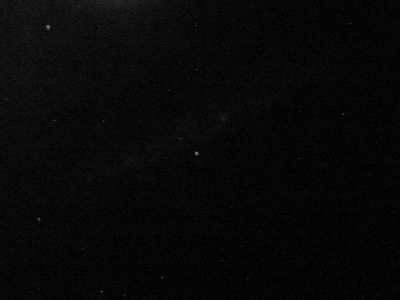
Here are some original frames from my image of NGC 4631, the Whale Galaxy:
2. Image Calibration
Images should be calibrated as well as you can using dark, flat, and bias images. The purpose of this is to remove artifacts like glow from the camera electronics, hot pixels, and some camera noise, and to ensure as far as possible a uniform image with dark and light patches (caused for example by vignetting or dust spots) eliminated. My preferred method for doing this with webcam images is to use Carsten Arnholm's ImageTOOLSca software as follows:
- Export AVI frames to monochrome FITs, selecting the Y luminance channel and applying gamma correction as necessary (see Robin Leadbeater's work on webcams HERE. Put red, green, blue, luminance, flat, dark, bias frames in different file directories
- Browse through image files and "trash" those of low quality
- Enter Calibration dialog and create master Bias. Flat, Dark frames
- Apply calibration to image files (luminance, red, green and blue).
3. Align and Stack Separately
The separate groups of FITs files must be loaded into Registax 4 and each one aligned, stacked and saved in 32-bit FITs format. Note at this stage in Registax, colour must be disabled, otherwise you will not get a proper monochrome image saved. File names must end with _R, _G, and _B to indicate red, green, and blue image files (this is not just for your convenience, it makes the compose step work properly). Stack the luminance too.
| Luminance stacked |
Green stacked |
 |
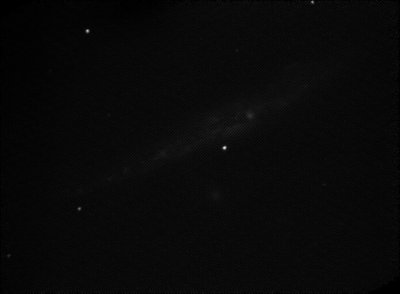 |
4. Post-process Luminance
Load the luminance file into PixInsight LE or some other image processing application, and apply usual processing steps (stretch, sharpening, noise reduction etc.)
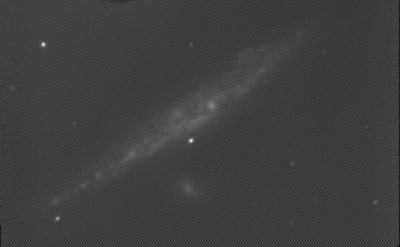
| Processed Luminance Image |
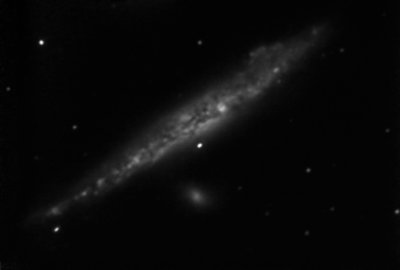 |
5. Compose the separate R/G/B images into one colour image
For this I use the popular software Registax. This software is more well-known for use in aligning and stacking images, but it can be used effectively for this job too. Load the _R, _G, and _B image files into Registax 4. Make sure the "Colour" checkbox is checked on the Select page and again on the Stack page. When Registax suggests you process in black and white, because the files are black and white, choose NO. This is very important!
Align and stack all three images. The result will be a composite RGB colour image. Don't worry if the colours don't look good, they can be adjusted afterwards. You might find it helpful to go to the Wavelet page and use the RGB Align feature to fine-tune the alignment of the colours. Save in TIFF format.
| RGB Combined |
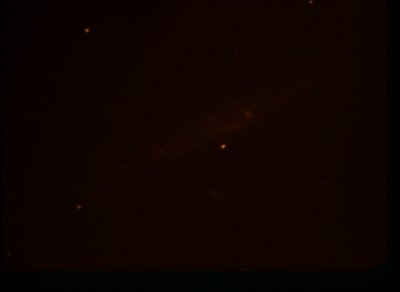 |
6. Adjust Colours
Load the colour image into your image processing application and stretch etc. until the colours look reasonable. If you have any pattern noise, such as diagonal banding (very common with modified webcams) remove it at this stage as it can distort the colour image. Save the image.
| Initial Processed RGB Image |
 |
7. Add Luminance Layer
Load the luminance image, and the rgb composite image into The Gimp or Photoshop. First you must make those two images the same size and orientation. You can find the adjustments necessary using AstroWave or using the Gimp measuring tool. Rotate the colour image if necessary and resize if it needs it.
NOTE: Always make changes of this type to the colour image, not the luminance
After the colour image has been resized and/or rotated, follow these steps to create the composite:
- Make a copy of the luminance image and set the image mode to RGB (it will be monochrome)
- Blur the colour image slightly by applying a gaussian blur of around 5 pixels. Increase the saturation of this image.
- Copy the colour image using Edit->Copy, then move to the luminance image and use Edit->Paste to insert it as a new layer. In The Gimp you must then click the new layer button to make the pasted selection a permanent layer.
- Align the colour layer with the luminance underneath - I like to do this by setting the layer mode to "Difference" and using the move tool to move it around until the image is as black as possible. Then set the layer mode to "Colour".
- Depending on the image, you may want to reduce the opacity to something less than 100%. Some people like to reduce it to 50%, process the image further and then apply luminance over the top (In The Gimp use layer mode "Value").
- Save image.
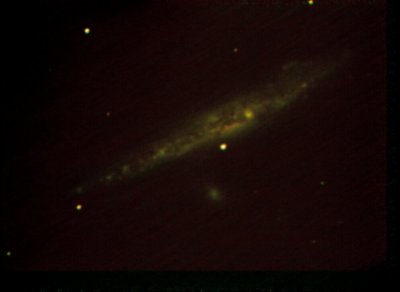
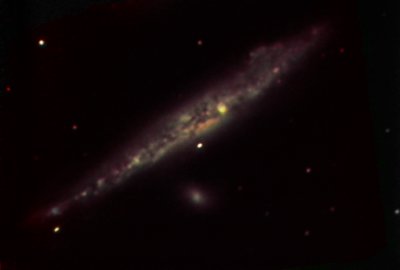
8. Final Post-processing
Finally, I use The Gimp and/or PixInsight LE to tweak the colours, reduce noise, and perform any other post processing I find to be necessary.
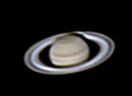
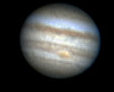
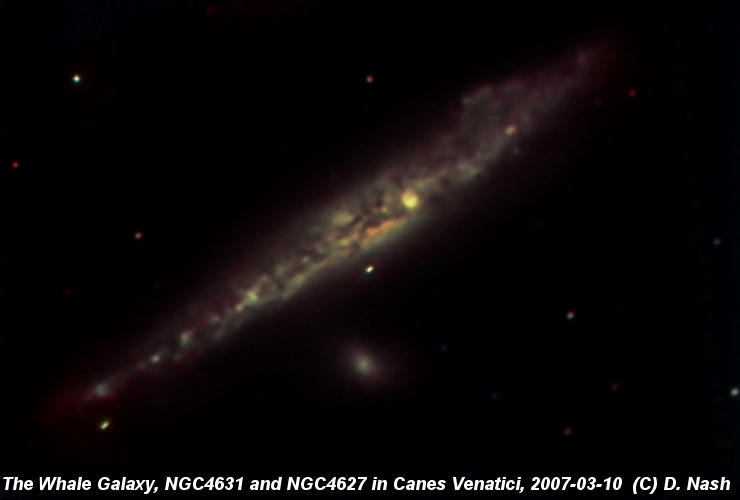
| LRGB Combined and Processed - click for full size |
 |
|