|
Techniques: Registax Tutorial for Planetary processing | |
| HOME Best Lunar Planets Deepsky Misc Equipment Techniques Links |
| Tutorial continued...Click HERE to return to the beginning. |
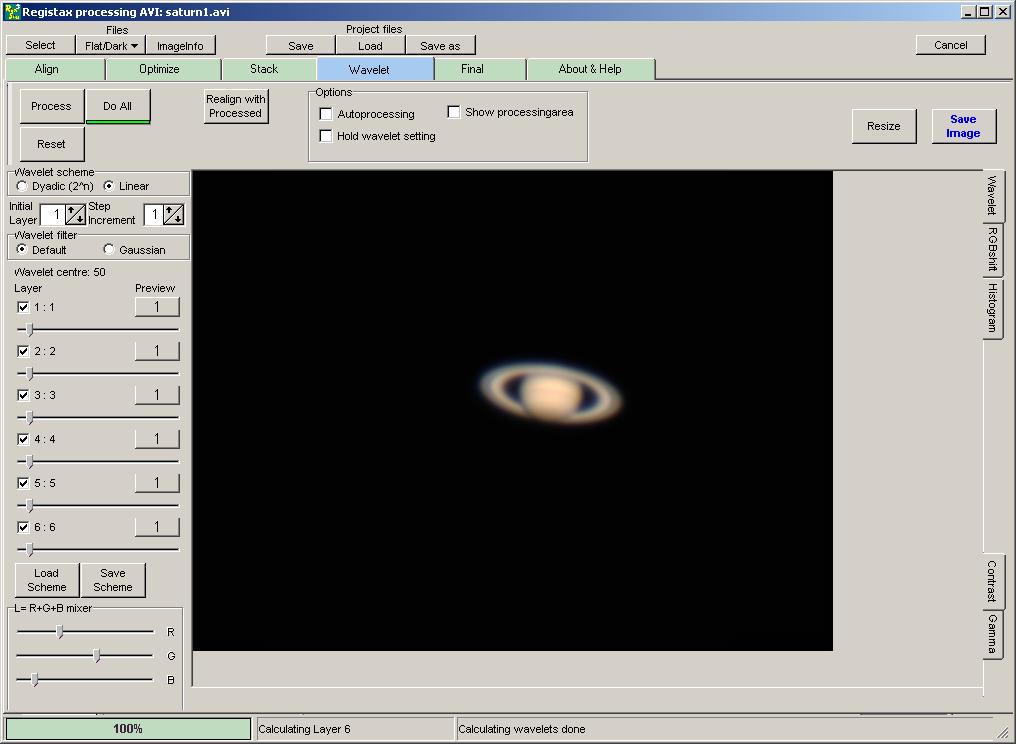
5. Wavelet sharpening
|
The basic idea of wavelets is to sharpen the image at several different levels of detail. On the left-hand side of the image in the wavelets screen are six sliders representing six different levels of detail (called layers). The starting level of detail can be changed in the "initial layer" box -- I recommend always setting this to 1. The step between the layers is controlled by the "step increment" box, which I also set to 1. If you choose Wavelet Scheme "Dyadic" then this increment will be used as a power of 2 so the layer size increases rapidly (1,2,4,8 etc) rather than linearly (1,2,3,4). I generally would not use this mode.
Now check the "Autoprocessing" box above the image to ensure that changes to the sliders are seen immediately rather than only after you release the mouse button. |
| The idea now is to adjust the sliders to sharpen the image by varying amounts at the different levels of detail. Different people prefer different methods of doing this -- personally I find that adjusting layers one to three by decreasing amounts, and not touching layers four to six, provide the best results, especially for planetary images. | |
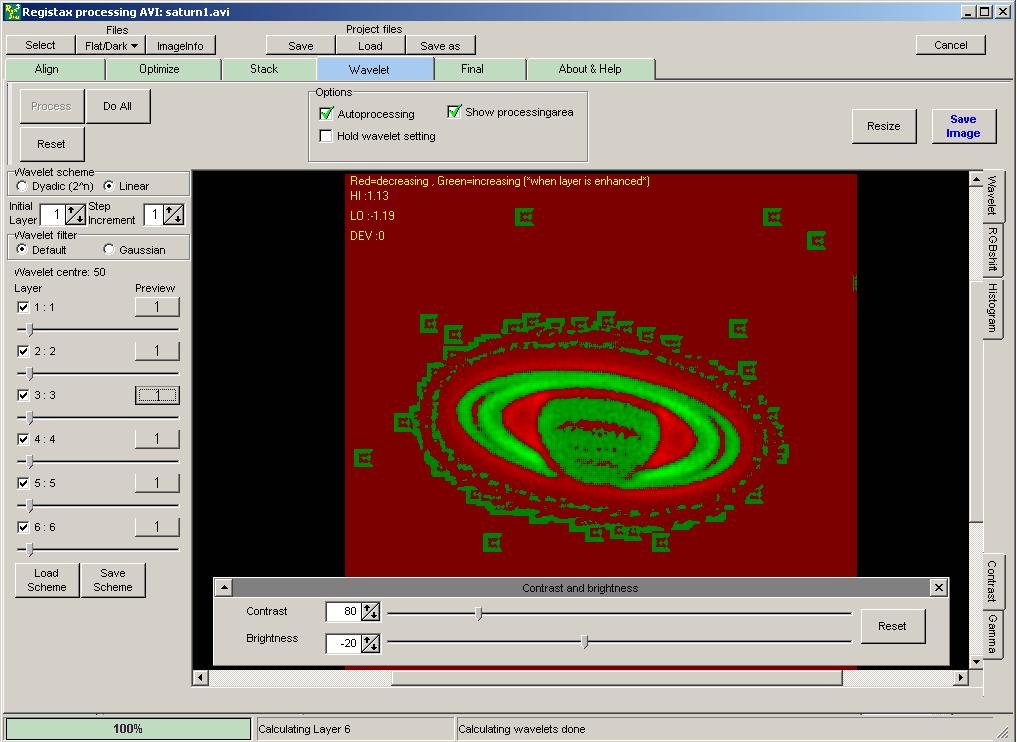
| If you click the button to the right of each slider, the display will change (whilst the button is held) to give you an idea of the effect of moving that slider. Areas of the image that will darken will change to red, and areas that will brighten will change to green. Releasing the button will revert the display to normal. |
|
| Clicking the Contrast tab on the right-hand side of the image will show brightness and contrast sliders. Planetary images are often very bright, even saturated (at maximum brightness) in the middle of the disc. In such cases, I recommend lowering the contrast to 80-90% and the brightness by 10-20%. | |
|
|
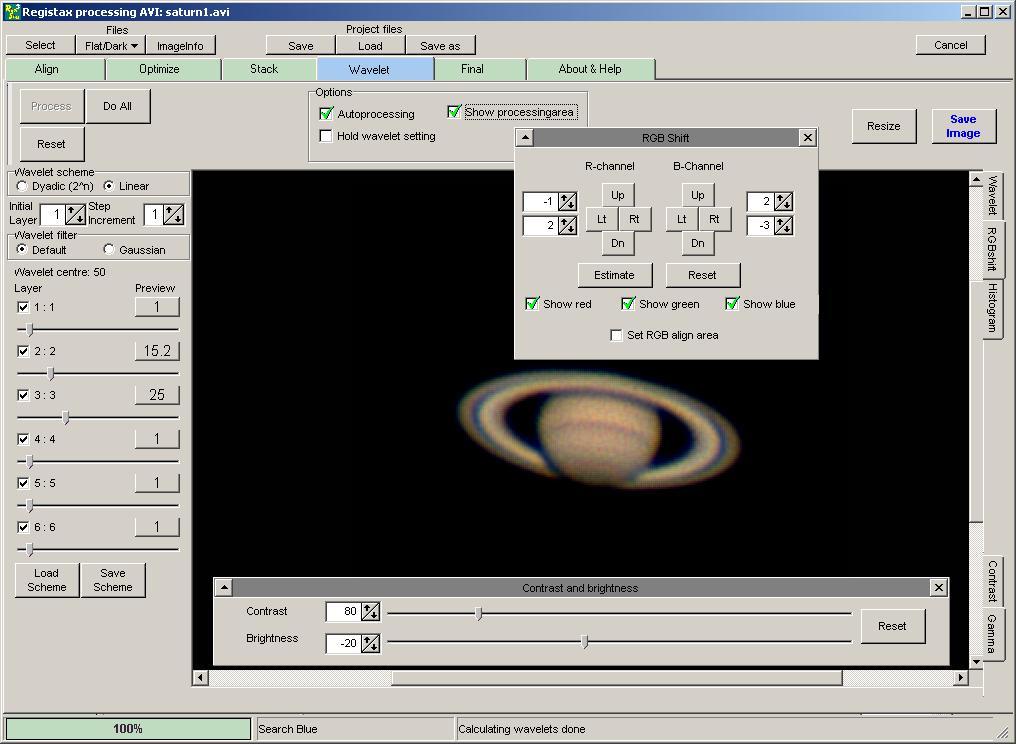
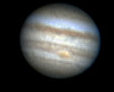
Planetary and lunar images, especially those captured when the target was at a low altitude, frequently suffer from misaligned Red, Green, and Blue image channels. This shows itself as colour fringes on the image. To correct this, click the RGBShift tab on the right of the image to see the RGBShift pop-up window.
Click the Estimate button and Registax will analyse the image and shift the colour channels so they align properly. |
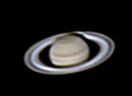
| Now you can click Save Image to save the sharpened image, or you can move to the Final tab by clicking the tab above. | |
< PREVIOUS |
NEXT > |
|
|
|
 |
|
| All text and images copyright and may not be used without permission |
|