6. Pushing Colour Curves
|
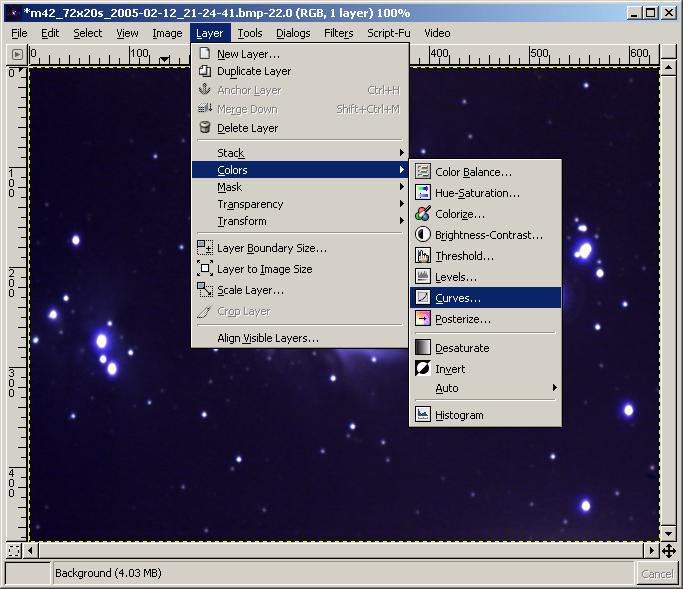
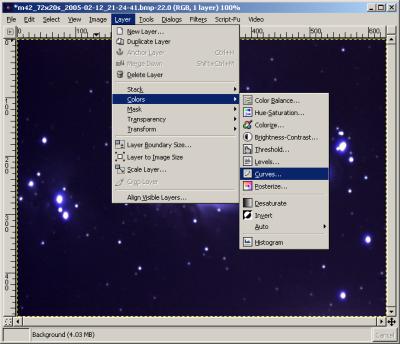
The next step after adjusting the levels, is to increase the amounts of each colour in the image, but in a controlled way. For this we use the Curves tool
Open the Curves window by choosing Layer->Colors->Curves on the menu.
|
|
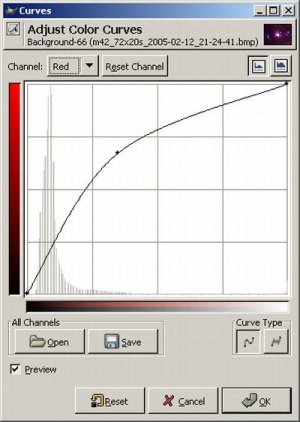
This is the Curves window. Like the levels dialog window it can operate on either general brightness ("value") or individual colour channels. The horizontal axis of the graph represents the brightness of the image in the selected colour, and the vertical axis represents the brightness after adjustment.
|
|
The line starts at a straight 45-degrees, meaning that the image won't be changed. By changing the shape of the line you can brighten or darken light or dark regions. The example here shows the general shape used to brighten the colour overall. You can see from the curve that the darkest parts remain the same, as do the lightest parts. But the mid-ranges of brightness are increased by a varying amount.
The amount by which you adjust the colours is really a subjective thing, but you should try to bring out the dim parts of nebulae while keeping the background dark.
|
|
|
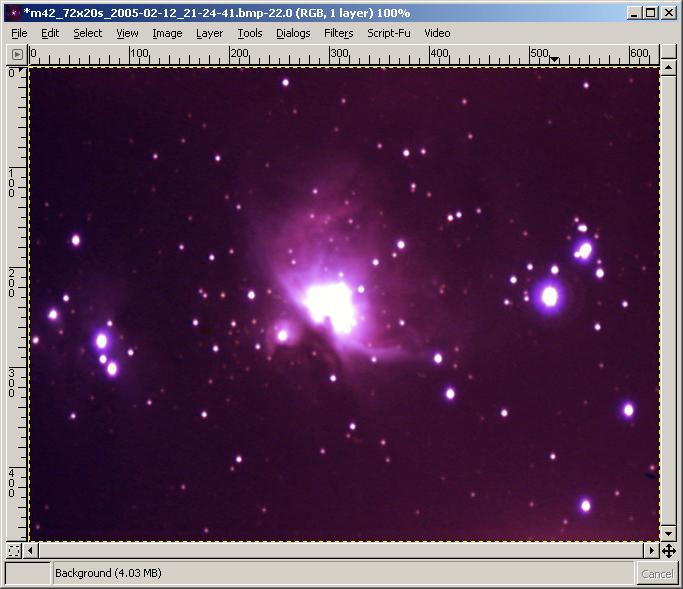
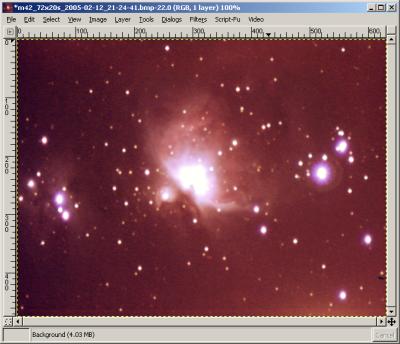
Here you can see what happens when the curve is pushed a little too much - the background is too bright and the whole image has a red cast.
|
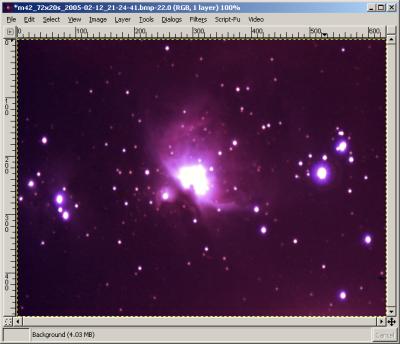
Here the red has been increased less, but enough to show up the dim parts of the nebula.
|
|
|
|
|
|
|
 |
|
All text and images copyright and may not be used without permission
|
|