7. Noise Reduction
|
|
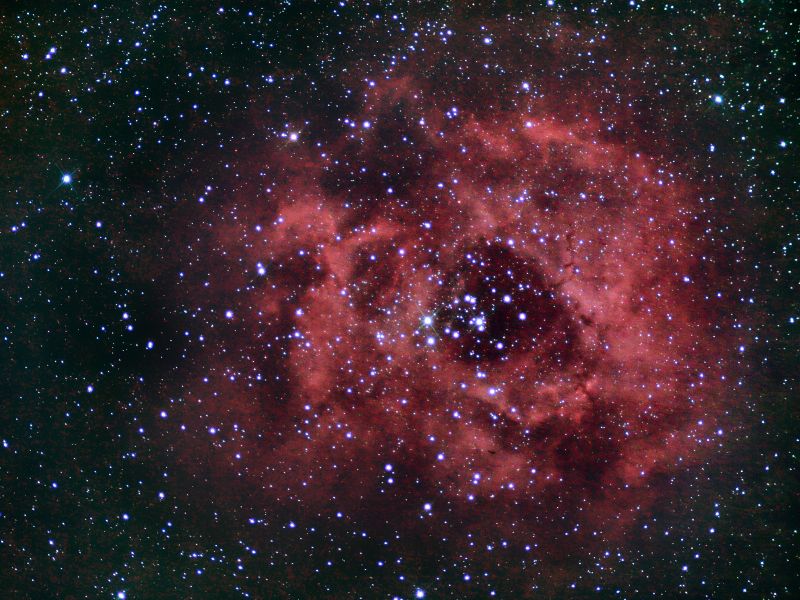
Now the image is looking a lot better. But the background has a lot of noise, which is a frequent side-effect of the processing necessary to pull out the image data. PixInsight LE has a noise-reduction process called SGBNR, which means Selective Gaussian Blur Noise Reduction. It can be very effective at improving images by blurring away noise in places but keeping the image details in place.
|
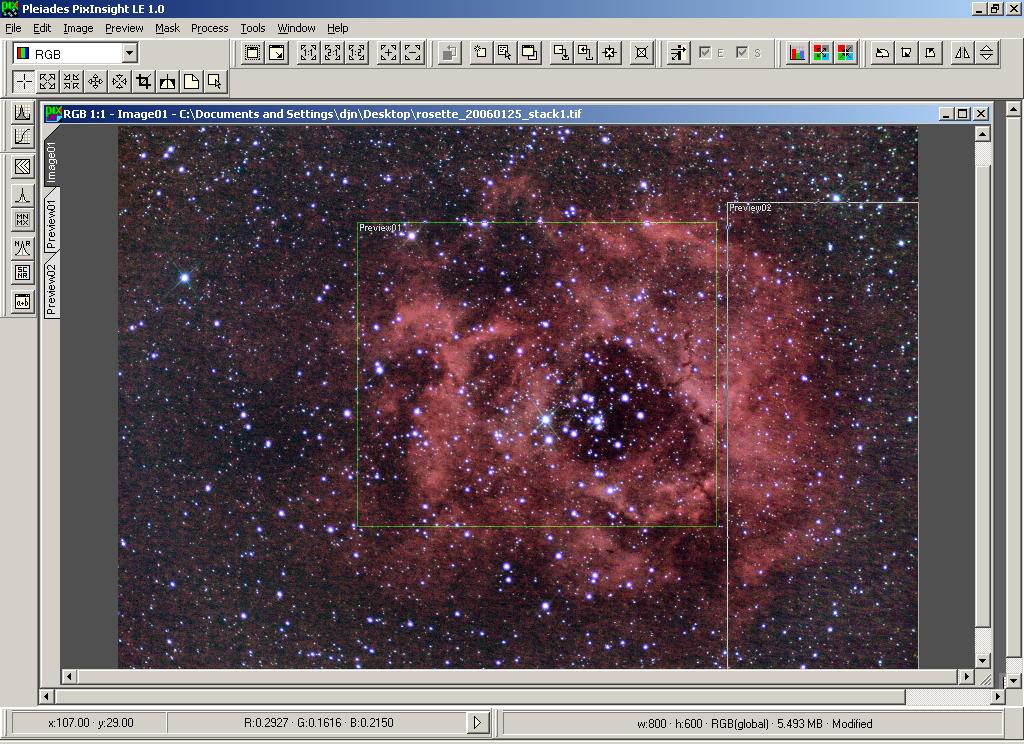
Since we resized and cropped the image we have lost the preview. So first of all let's create a new preview. In fact, I'll create two smaller ones - one covering part of the nebula and bright stars in the cluster, and one covering the noisiest part of the background at the bottom-right.
Now we will look at the noise reduction facility. To start the process choose SGBNR from the Process->General menu or click the toolbar button.
|

|
|
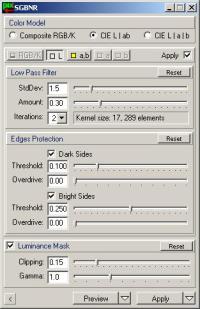
The SGBNR process can be applied in RGB/K mode, which you should choose for a black and white image, or two other modes in which the luminance is separated - CIE L|ab and CIE L|A|B. While the RGB/K mode applies the noise reduction process to the RGB colour space all in one go, the others give more control over how much noise reduction is applied separately to luminance and colour data.
|
It is worth viewing the image in Luminance and in Chrominance modes using the colour drop-down in the top-left of the application window. Compare the noise in each mode and make a decision about whether you need to apply the noise reduction separately to luminance and colour.
For this image I will choose the 2-stage mode CIE L|ab, but apply it to Luminance and not colour. This will speed up the process. To do so I click CIE L|ab then the L button below to show the settings for the L channel. Notice the Apply box to the right is checked. To disable noise reduction to the colour data click the a,b button and uncheck the corresponding box. Then return to the L settings.
The noise reduction is done using a blurring process controlled by the Low Pass Filter section of this window. The StdDev box controls the size of the blur that is applied, and the Amount box determines how much effect it has on the image. Finally in this section you can choose a number of iterations -- it can sometimes be better to apply a low amount of filtering several times than a higher amount just once. In this case I have experimented on the previews and decided on the settings shown here.
|
|
|
The Edges Protection section will reduce the amount of noise reduction around the edges of details in the image. You have separate control over dark edges and bright edges. In this case I have made sure both are enabled and reduced the threshold for Dark Side protection, to make sure some of the dark details within the nebula are not lost.
|

|
Finally, enabling the Luminance Mask will use the image luminance as a kind of mask when applying this process. That protects the high-luminance features, such as stars, some of which have spikes, from excessive blurring.
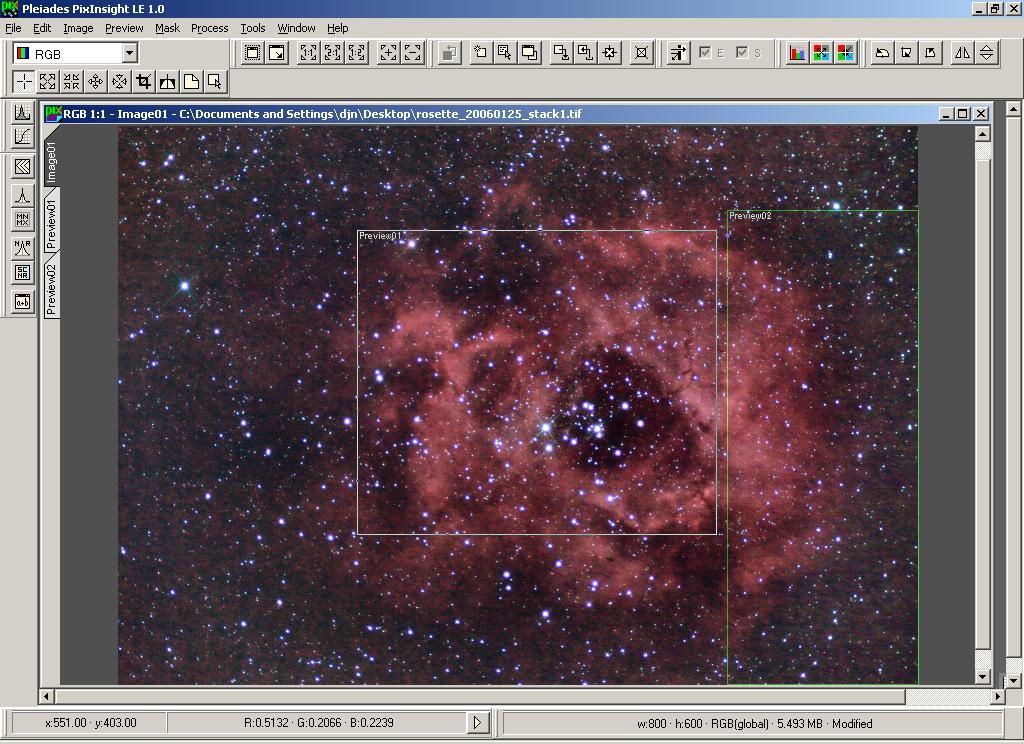
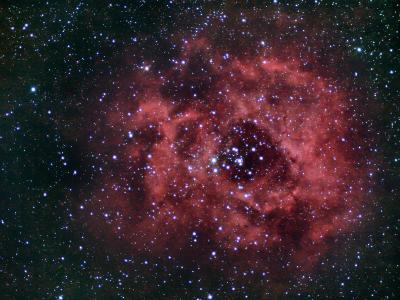
The result can be seen here.
|
8. Final Result
|
|
To finish the image off, it was necessary to do some selective adjustments. Since PixInsight LE doesn't support selection with the mouse to define processing areas, I will use other software to finish the image off. I saved it in TIFF format and loaded the result into The Gimp. Then I defined an area around the nebula with a feathering of 100 pixels. I adjusted the black point using the levels dialog, to darken the background. I also used Selective Gaussian Blur to improve the look of the background, and finally increased the colour saturation in the nebula slightly. You can see the final result here.
|
|
|
|
|
 |
|
All text and images copyright and may not be used without permission
|
|